Wiring Diagrams: Wiring A Bathroom Heater Fan Light Combo

Wiring a bathroom heater fan light combo requires careful attention to detail and safety. Understanding the purpose and function of each wire and terminal is crucial to ensure proper operation and prevent electrical hazards.
Wiring a bathroom heater fan light combo is a breeze, especially when you have the right tools and a clear plan. If you’re looking for a little inspiration, check out our guide to creating a preppy bedroom. From choosing the perfect color scheme to finding the right furniture, we’ve got you covered.
And when you’re ready to tackle that bathroom project, we’ll be here to help you every step of the way.
Before beginning any electrical work, it’s essential to consult a qualified electrician to ensure compliance with local building codes and safety regulations.
As you wire your bathroom heater fan light combo, you may encounter a noisy exhaust fan. If this occurs, check out this helpful article on noisy exhaust fan bathroom for troubleshooting tips. Once you’ve addressed the noise issue, continue wiring your heater fan light combo, ensuring proper connections and grounding.
Electrical Wiring Diagram
The electrical wiring diagram for a bathroom heater fan light combo typically includes the following components:
- Power supply: This is the main electrical supply that provides power to the unit.
- Light switch: This controls the on/off function of the light fixture.
- Heater switch: This controls the on/off function of the heater.
- Fan switch: This controls the on/off function of the fan.
- Neutral wire (white): This wire carries the neutral current back to the power source.
- Hot wire (black): This wire carries the live current from the power source to the unit.
- Ground wire (green or bare copper): This wire provides a safety path for any stray electrical current.
Safety Precautions
When wiring a bathroom heater fan light combo, it’s essential to follow these safety precautions:
- Turn off the power at the main breaker panel before beginning any work.
- Wear appropriate safety gear, including gloves and safety glasses.
- Use only electrical components that are rated for the specific application.
- Make sure all electrical connections are tight and secure.
- Test the unit thoroughly before putting it into operation.
Step-by-Step Installation Guide
Tools and Materials, Wiring a bathroom heater fan light combo
Gather the necessary tools and materials before starting the installation. This includes a screwdriver, wire cutters, electrical tape, and the heater fan light combo unit.
Safety Precautions
Turn off the power to the bathroom at the circuit breaker before beginning any electrical work. Wear safety glasses and gloves to protect yourself from any potential hazards.
Mounting the Heater Fan Light Combo
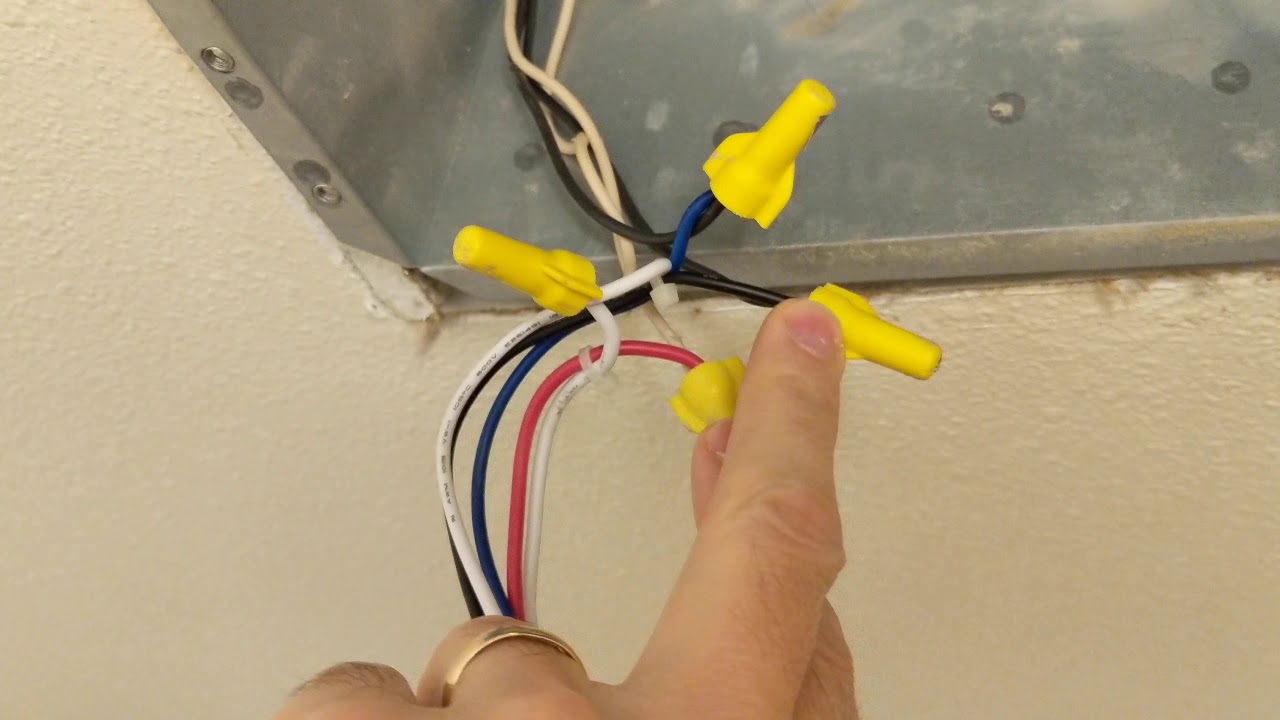
Locate the junction box in the ceiling where the heater fan light combo will be mounted. Connect the wires from the heater fan light combo to the wires in the junction box, matching the colors (black to black, white to white, and green or bare copper to ground). Secure the heater fan light combo to the junction box using the provided screws.
Testing the Heater Fan Light Combo
Turn on the power to the bathroom at the circuit breaker. Test the heater fan light combo to ensure it is working properly. The fan should run smoothly, the heater should warm up, and the light should turn on.
Troubleshooting Tips
If the heater fan light combo is not working properly, check the following:
– Make sure the power is turned on at the circuit breaker.
– Check the connections in the junction box to ensure they are secure.
– Replace the light bulb if it is not working.
– Contact a qualified electrician if you are unable to resolve the issue.
Troubleshooting and Maintenance

Ensuring the smooth operation of a bathroom heater fan light combo is crucial for its longevity and effectiveness. Understanding potential issues and their solutions, as well as implementing proper maintenance practices, can prevent costly repairs and extend the unit’s lifespan.
Diagnosing and Fixing Common Issues
Various problems can arise with a bathroom heater fan light combo, but many are easily diagnosed and resolved. Here are some common issues and their potential solutions:
- No power: Check if the circuit breaker or fuse associated with the unit has tripped or blown. Reset the breaker or replace the fuse if necessary.
- Fan not working: Ensure the fan switch is turned on. Check if the fan blades are obstructed or damaged. Clean or replace the blades if needed.
- Light not working: Replace the light bulb if it has burned out. Check if the light switch is functioning correctly.
- Heater not working: Check if the heater switch is turned on. Ensure the heating element is not obstructed or damaged. Replace the heating element if necessary.
- Excessive noise: Clean the fan blades and motor to remove any accumulated dust or debris. Check if the unit is properly mounted and secure.
- Moisture accumulation: Ensure the fan is operating correctly and ventilating the bathroom effectively. Check for any leaks or condensation around the unit.
Maintenance Tips
Regular maintenance is essential to keep the bathroom heater fan light combo functioning efficiently and prevent premature failure. Here are some maintenance tips:
- Clean the fan blades and motor: Use a soft brush or cloth to remove dust and debris from the fan blades and motor. Do this monthly or as needed.
- Replace the light bulb: Replace the light bulb as soon as it burns out to ensure adequate lighting.
- Check the heating element: Inspect the heating element for any damage or obstructions. Replace the heating element if necessary.
- Lubricate the motor: Apply a few drops of light machine oil to the motor bearings every six months to ensure smooth operation.
- Inspect the wiring: Check the wiring connections regularly for any loose or damaged wires. Tighten any loose connections and replace damaged wires as needed.
